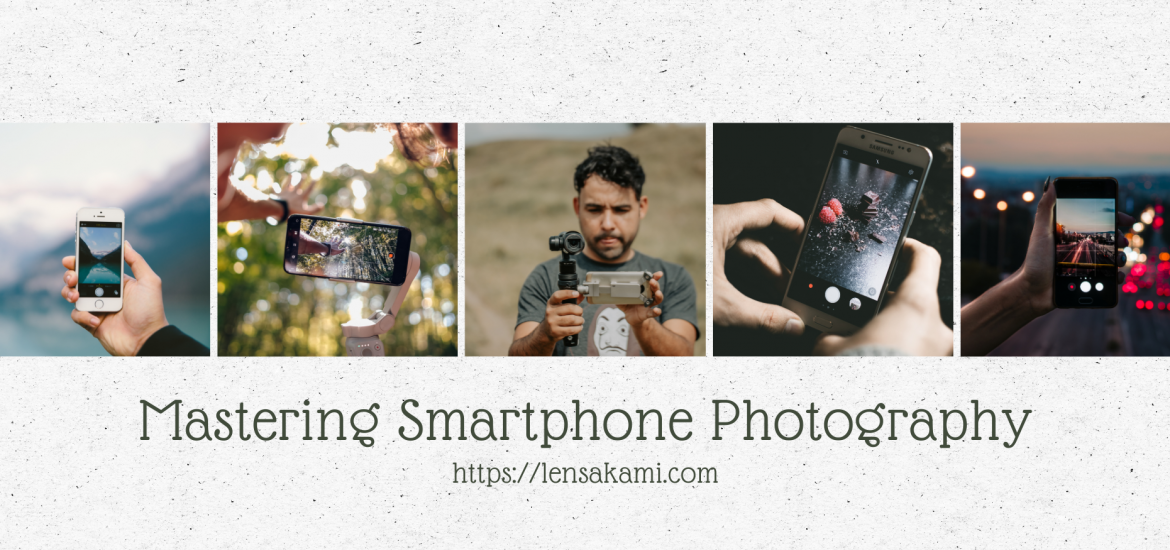
Welcome to the ultimate guide on how to master the art of smartphone photography!
With the rapid advancements in smartphone camera technology, you no longer need expensive gear to capture stunning images. Whether you’re an aspiring photographer or simply looking to improve your Instagram game, this comprehensive tutorial will equip you with essential tips and techniques to elevate your smartphone photography to the next level. Let’s dive in!
Step 1: Understand Your Smartphone Camera Settings

Before you start capturing breathtaking images, familiarize yourself with your smartphone camera settings. Explore options like exposure compensation, white balance, focus modes, and gridlines. Learn to control these settings to get the desired effects and achieve professional-looking results.
Step 2: Master Composition Techniques

Composition is the heart of any great photograph. Discover the rule of thirds, leading lines, framing, and symmetry to create visually compelling and balanced images. Experiment with different angles and perspectives to add depth and interest to your photos.
Step 3: Harness Natural Light
Lighting plays a crucial role in photography. Learn to identify and utilize different natural lighting conditions such as golden hour, blue hour, and overcast days to add drama and mood to your shots. Avoid harsh midday sun and make the most of soft, diffused light for flattering portraits.
Step 4: Utilize Editing Apps

Post-processing is where the magic happens. Explore popular editing apps like Snapseed, Lightroom Mobile, and VSCO to enhance colors, adjust exposure, and add creative filters. Understand the basics of editing without overdoing it, maintaining the natural essence of your images.
Step 5: Focus and Depth of Field
Experiment with selective focus and depth of field to make your subject stand out. Master the art of tapping on the screen to set the focus point and control the background blur (bokeh) to create a professional look in your images.
Step 6: Capturing Motion and Action
Don’t let fast-moving subjects discourage you! Learn to freeze action or add artistic motion blur to your photos by adjusting the shutter speed in manual or pro mode. This technique is particularly useful for sports, street photography, and capturing lively moments.
Step 7: Macro Photography with Your Smartphone
Discover the hidden world of macro photography using your smartphone. Get up close and personal with tiny subjects, like flowers, insects, or textures, by using inexpensive clip-on macro lenses or the built-in macro mode on some smartphones.
Step 8: Night Photography Made Easy
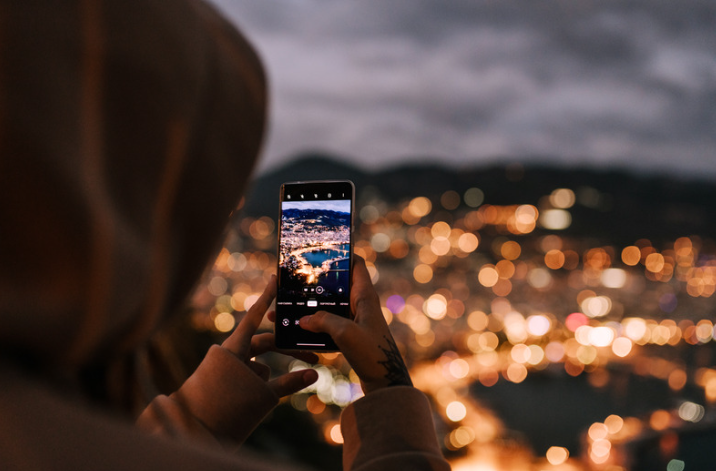
Night photography can be daunting but incredibly rewarding. Learn how to shoot stunning nightscapes and cityscapes by tweaking exposure settings and using a stable surface or tripod to avoid camera shake.
Step 9: Taking Advantage of HDR Mode
High Dynamic Range (HDR) mode can help you capture scenes with extreme contrast between light and shadow. Understand when to use HDR mode and how to blend multiple exposures to achieve balanced and well-exposed images.
Step 10: Practice, Experiment, and Explore
Photography is an art, and like any art form, practice makes perfect. Take your smartphone with you wherever you go, and don’t hesitate to experiment with different techniques and subjects. Follow other skilled smartphone photographers on social media for inspiration, and be open to learning and growing as you develop your unique style.
Congratulations on completing the ultimate guide to mastering smartphone photography! Armed with the knowledge of camera settings, composition, lighting, editing, and various techniques, you are now well-equipped to capture stunning images using just your smartphone. Remember, the key to improvement is practice, so keep honing your skills and unleashing your creativity. Happy shooting!

